How to Create a Resume That Actually Gets Looked At (Updated 2026)
So you’re scrolling through Instagram, trying to keep your brain busy.
You land on a video.
How long does it take you to decide whether it’s worth watching?
One second? Maybe two at most?
In the era of short form videos, there’s so many demanding our attention that we’ve become experts at deciding what’s worth watching.
And the thing is, resume reviewing is the same.
Imagine having to sit through and read hundreds of resumes. You’d start filtering them out the same way you do videos.
A lot of people think hiring managers take the time to fully read your resume.
But the truth is, if your resume doesn’t immediately speak to what they’re looking…
They’ll swipe through to the next one.
Table of Contents
The goal of this guide
Look, as a staffing agency, we’re in the business of resumes. We’ve seen the good ones and we’ve seen the ones that could use some work. 😬
Even worse, we’ve seen a lot of outdated advice when it comes to creating them.
That’s why we created this guide. To teach you what works. And to leave you with a resume that actually gets read and wins you that job.
Let’s jump right in.
A quick lesson on ATS 🤖 (important)
Before we get started, let’s quickly cover what an ATS (Applicant Tracking System) is — because you’ll need to know this to create that perfect resume.
An ATS is like a robot that scans and scores resumes to help companies decide which ones are worth looking at.
It looks for things like experience and keywords to figure out if you’re a match.
Resumes with a low score are shredded into tiny digital pieces and tossed into the void, never to be seen again (slight exaggeration).
Why this is important: Most major companies use ATS. And because of that, the game has changed. It’s no longer about just sending a resume, you also gotta know how to please the robot. 🤖
Follow this guide and we promise you’ll have a clean, robot approved resume.
Deciding a format
Starting at the beginning: How should you format your resume?
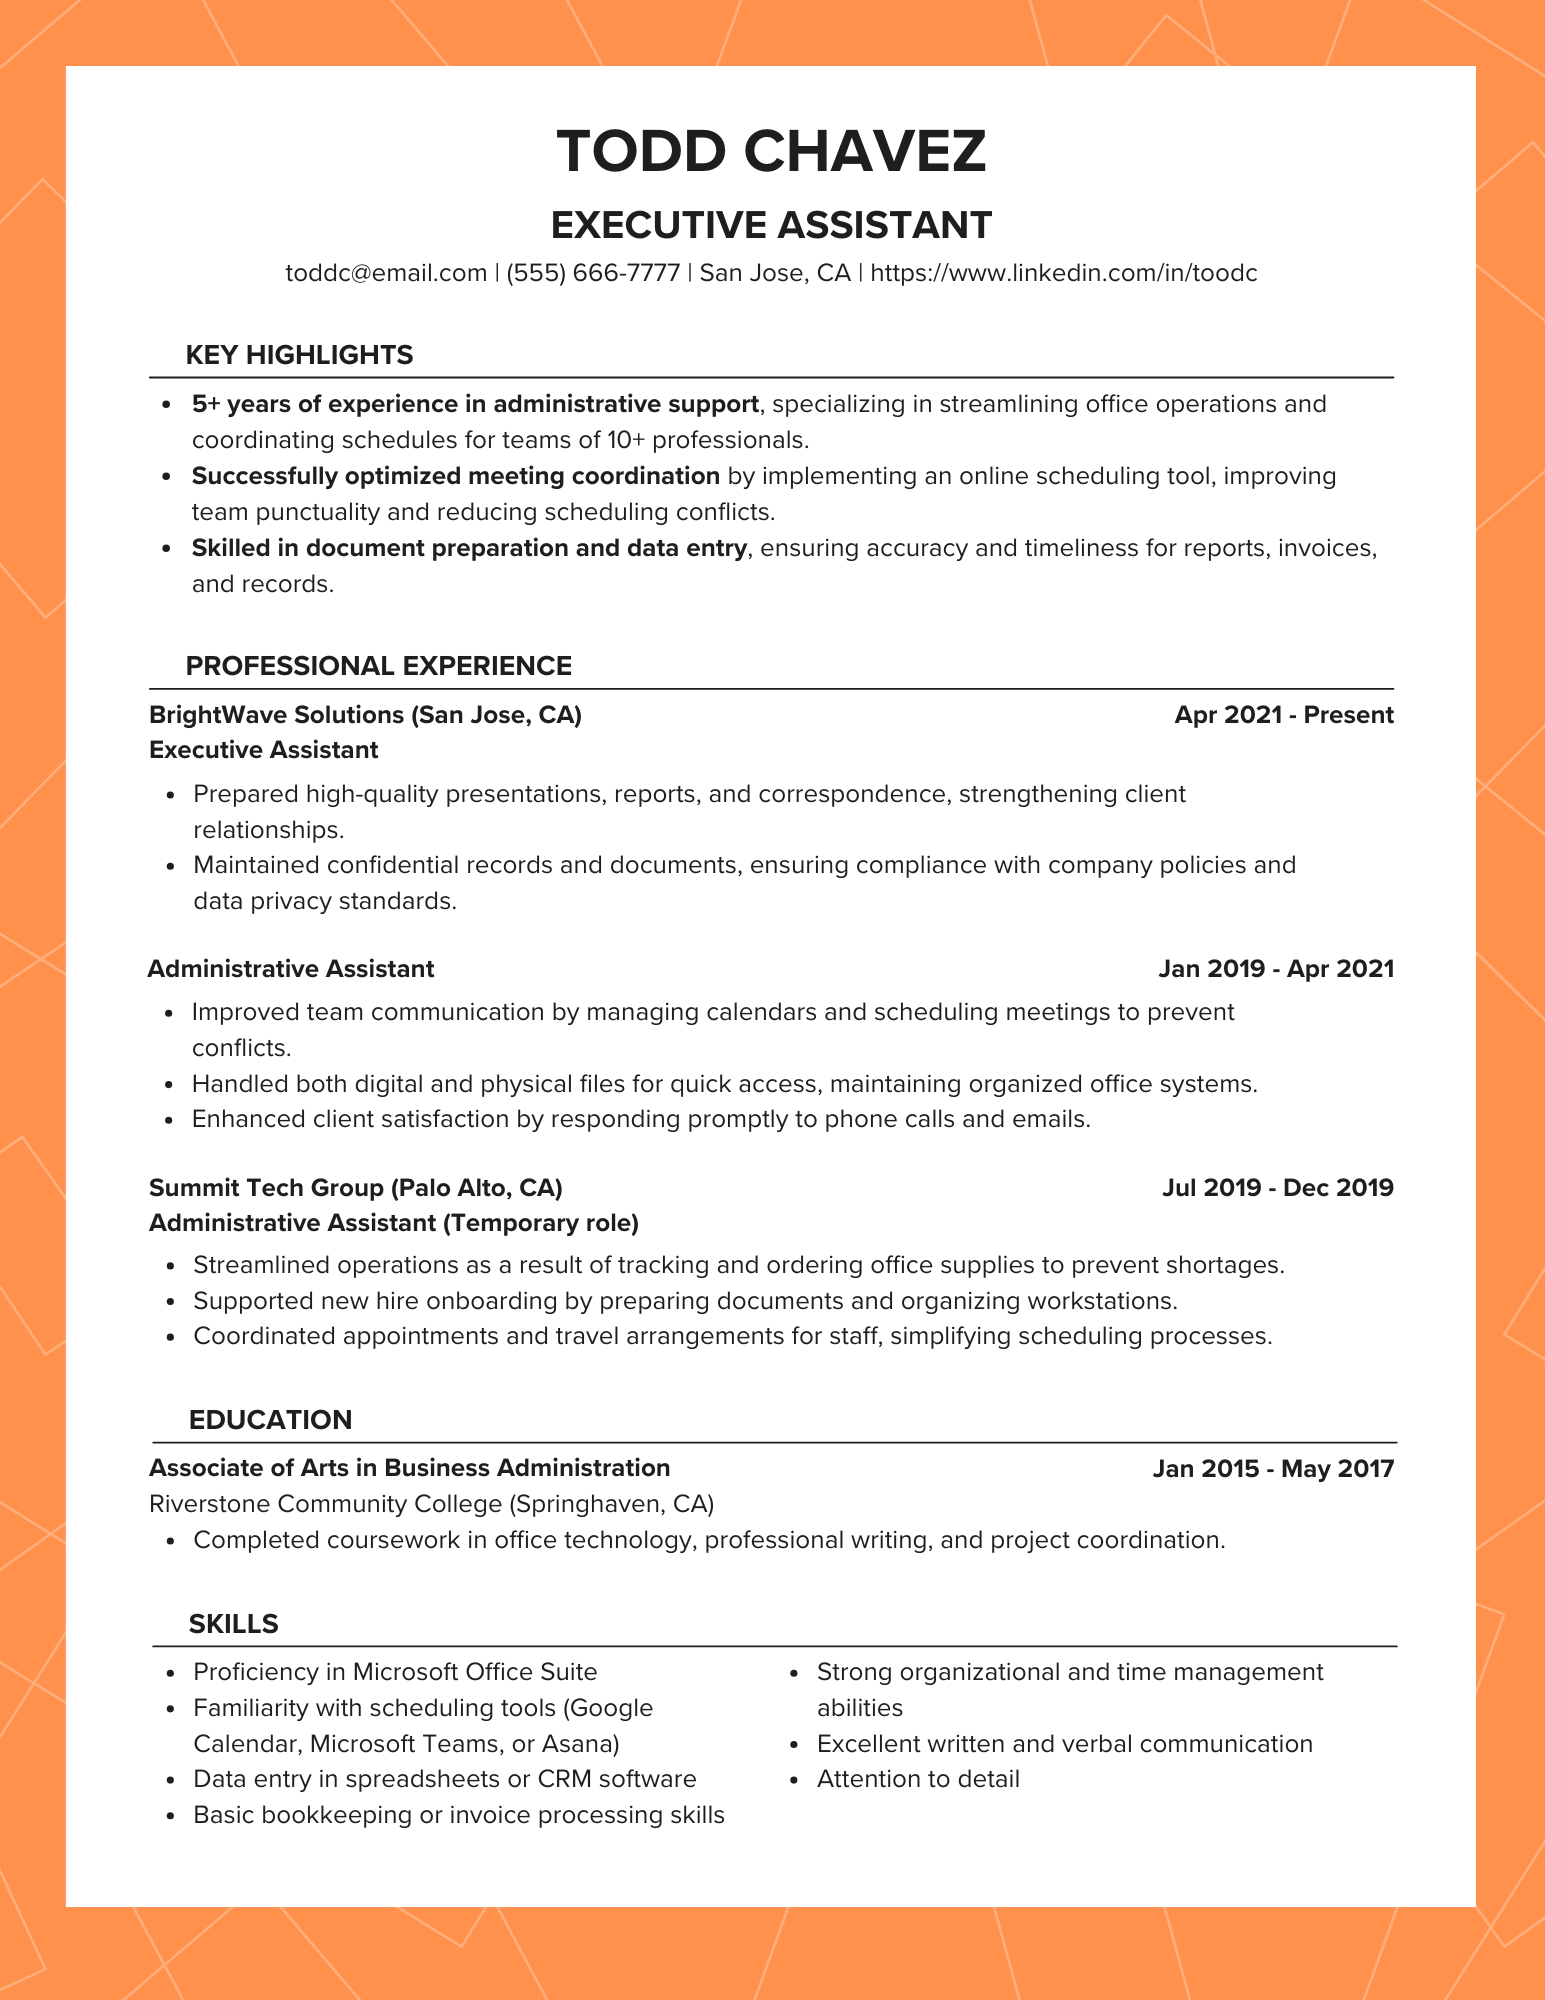
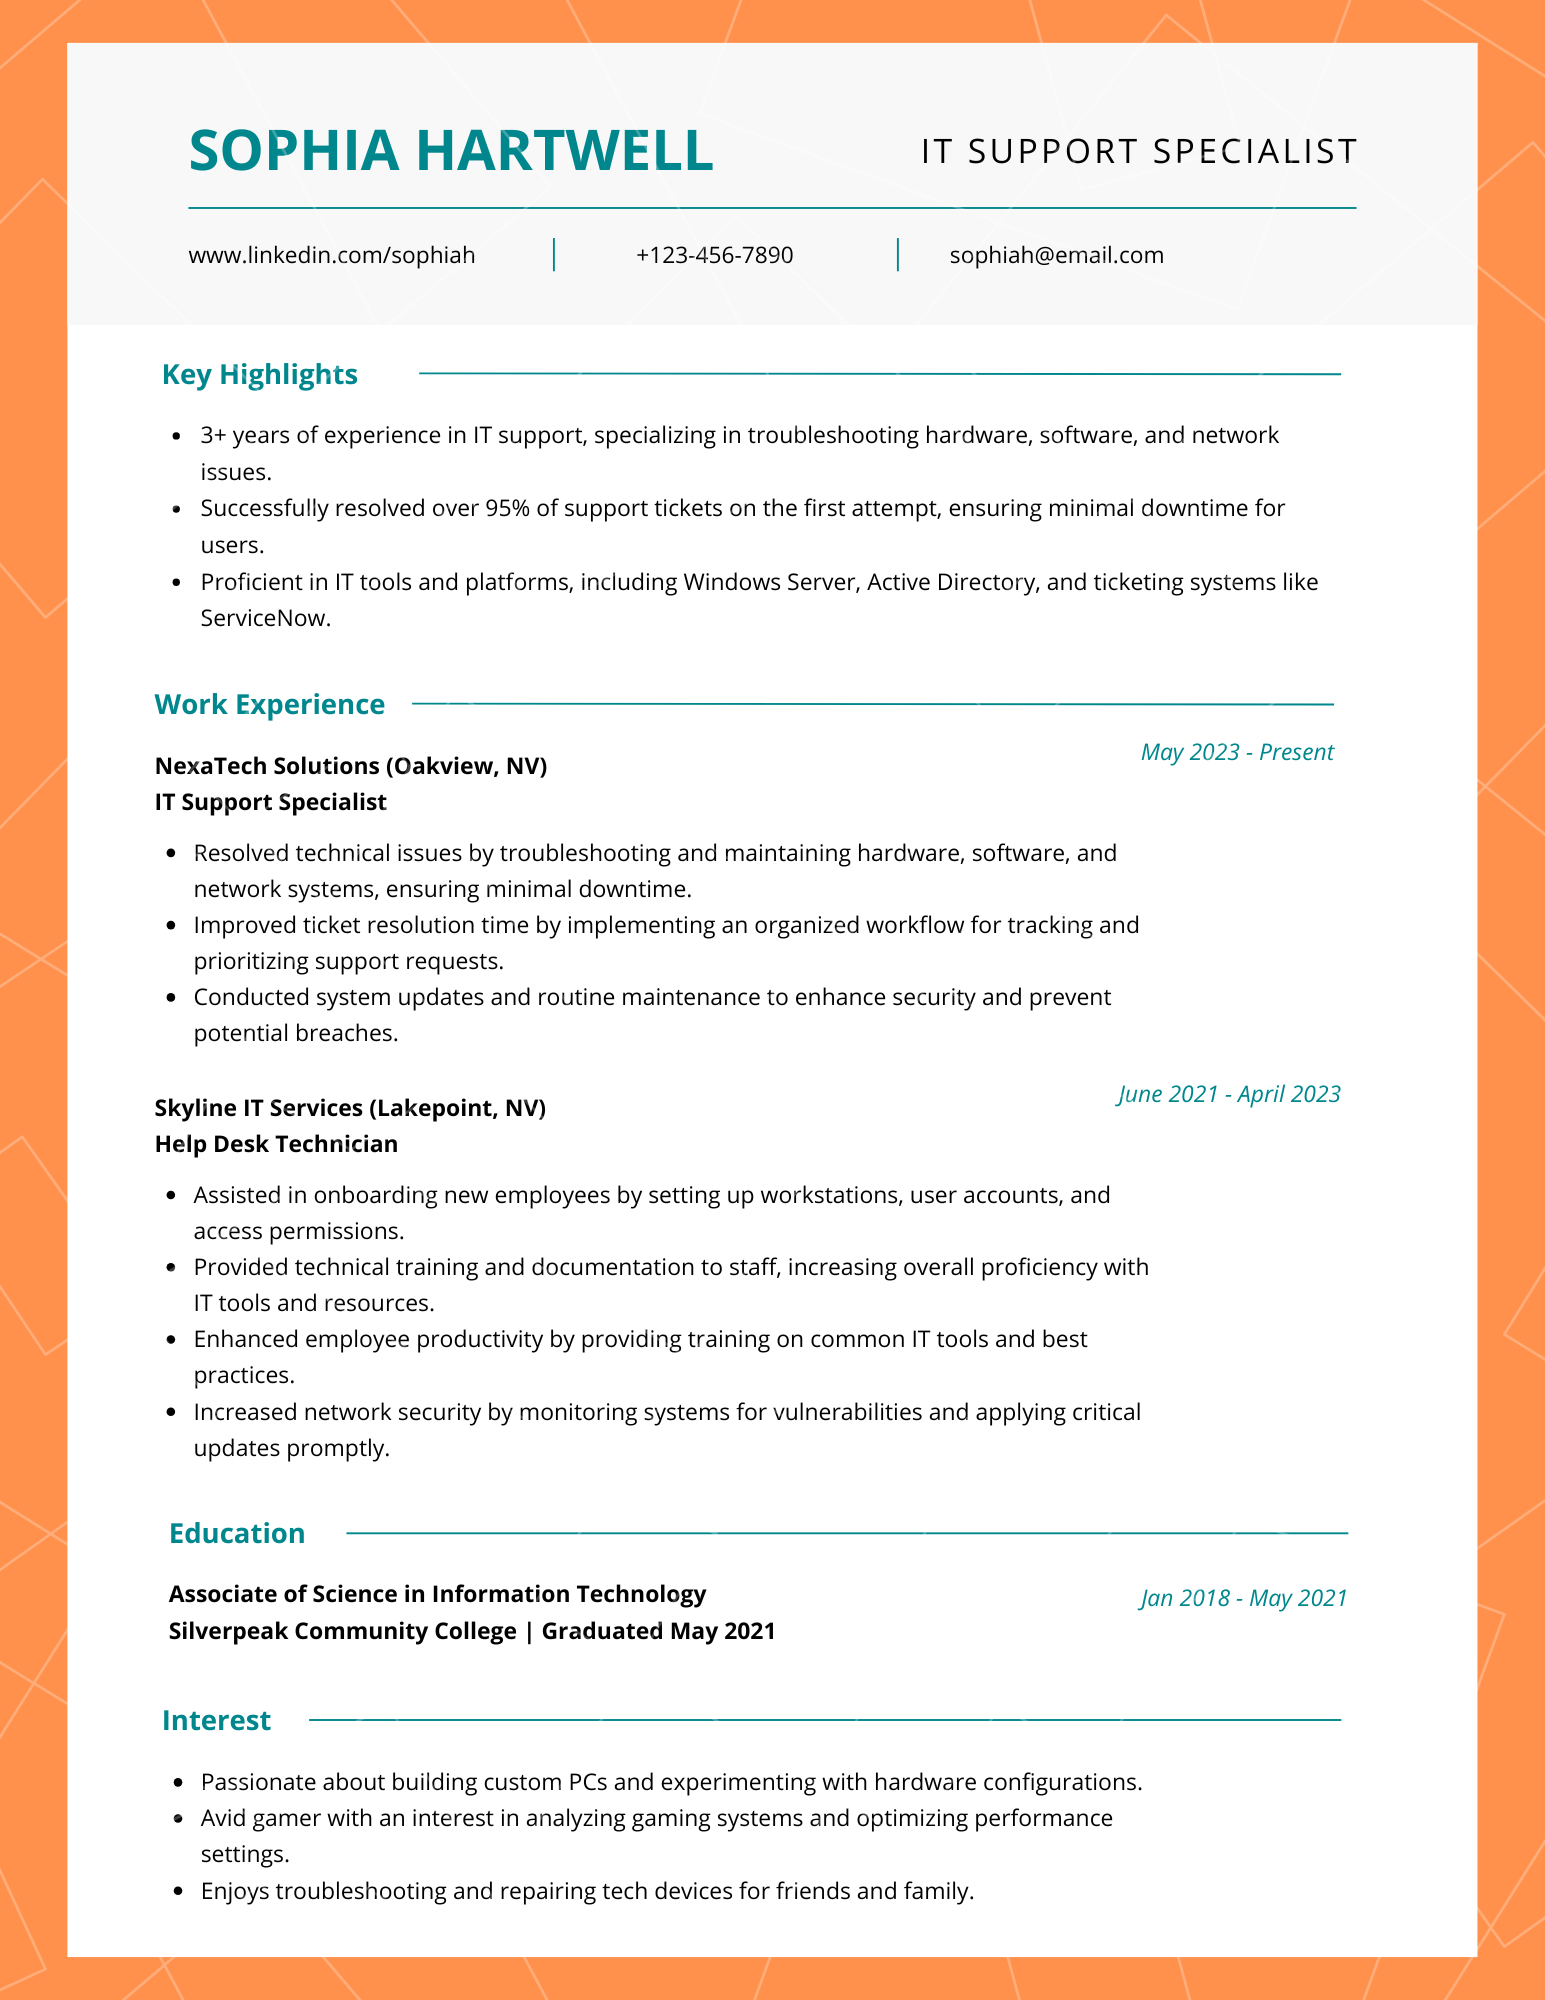
To make it easy, we’ve provided you with a SlingShot Connections approved resume format.
It might look simple but don’t underestimate it.
It’s designed to be easy to read and formatted to get through that pesky robot. 🤖
We’ve also tailored it to reflect everything in this guide, making it easy to follow along.
Click here to download the resume template
If you prefer to use your own design, you’re welcome to as well.
But keep in mind:
Overly busy or colorful resumes can distract from your content, and make it harder for the robot to read.
For those of you using your own design, here are some things to avoid:
- Avoid attaching a photo of yourself on your resume (it’s common to see these on resume builders but there’s a risk of unconscious bias as well as it just being seen as unprofessional here in the US).
- Avoid using skill rating graphs (sorry, but having 4 out of 5 stars on Microsoft Word doesn’t say much about your skillset and just ends up wasting valuable space).
- Avoid resumes with too much design. If it distracts from your written content, it’s better to dial it back.
- Avoid odd looking fonts (We’re looking at you Canva). Keep the font easy to read and consistent throughout the document — Calibiri, Roboto, and Helvetica are solid options.
- Be careful with 2 column resumes. We’re not saying to completely avoid this, but some robots can have a hard time reading these.
- Avoid long walls of text, chances are you’re writing way too much. Use bullet points and leave enough space between lines.
Now, once you’ve got your format or template. Make sure they follow these rules:
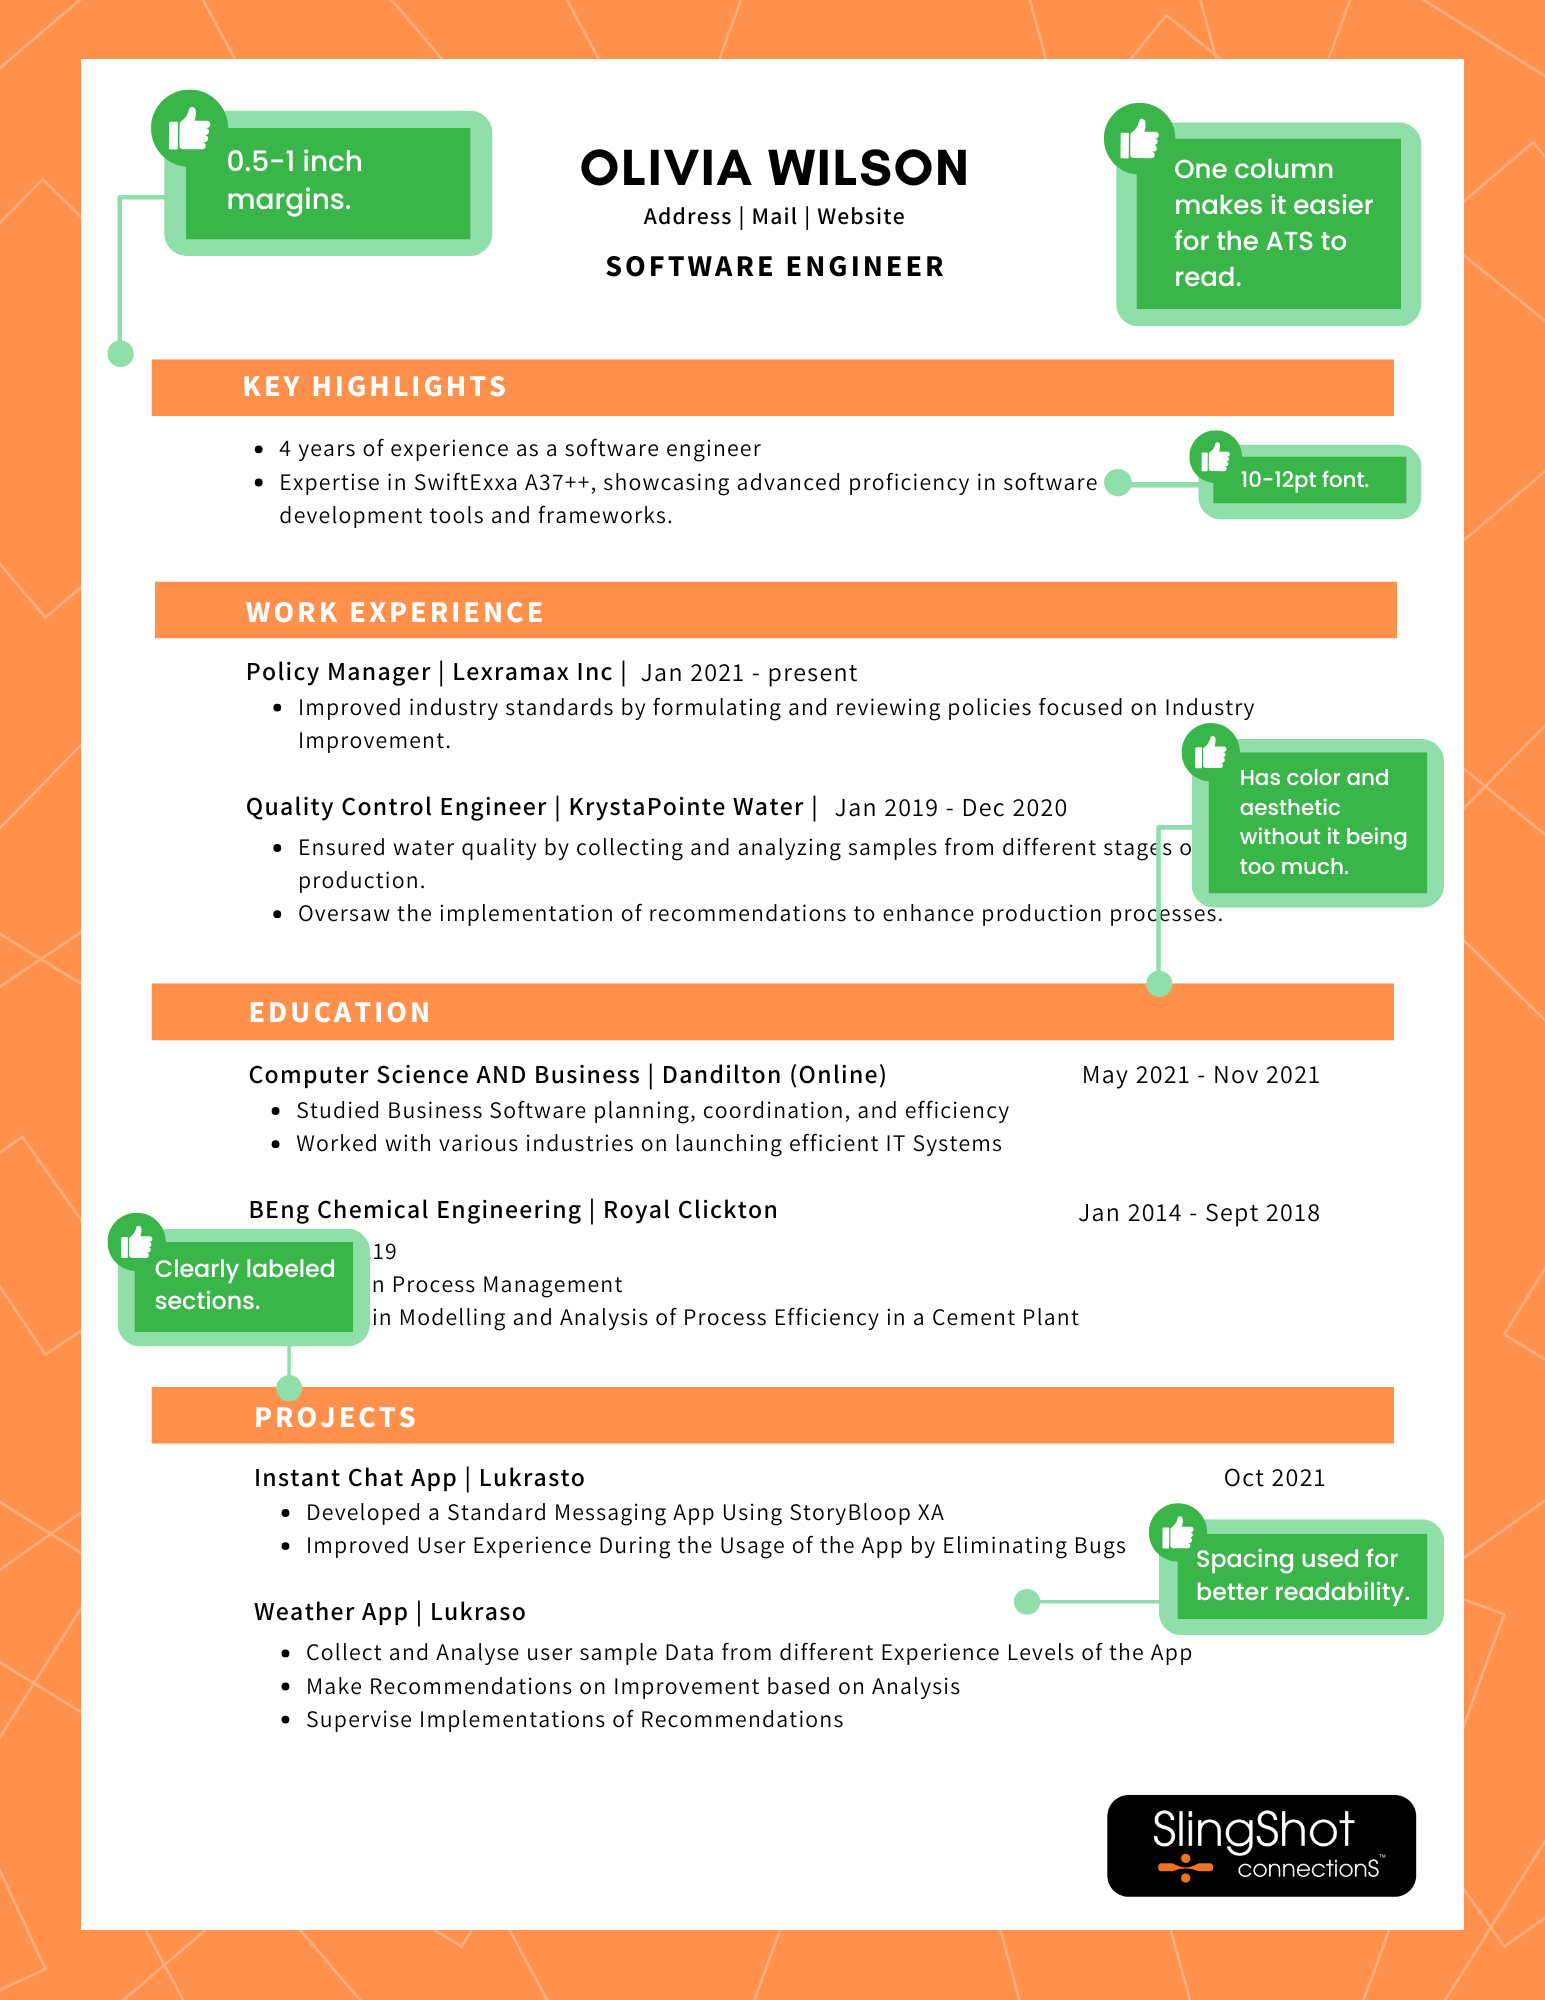
- Font: Use a 10-12pt font for body text. And 14-16pt font for section headers.
- Use 0.5 to 1 inch margins all around.
- Keep line spacing at 1-1.15.
- Use clearly labeled sections like Experience, Education, Skills, etc.
Should look something like this:
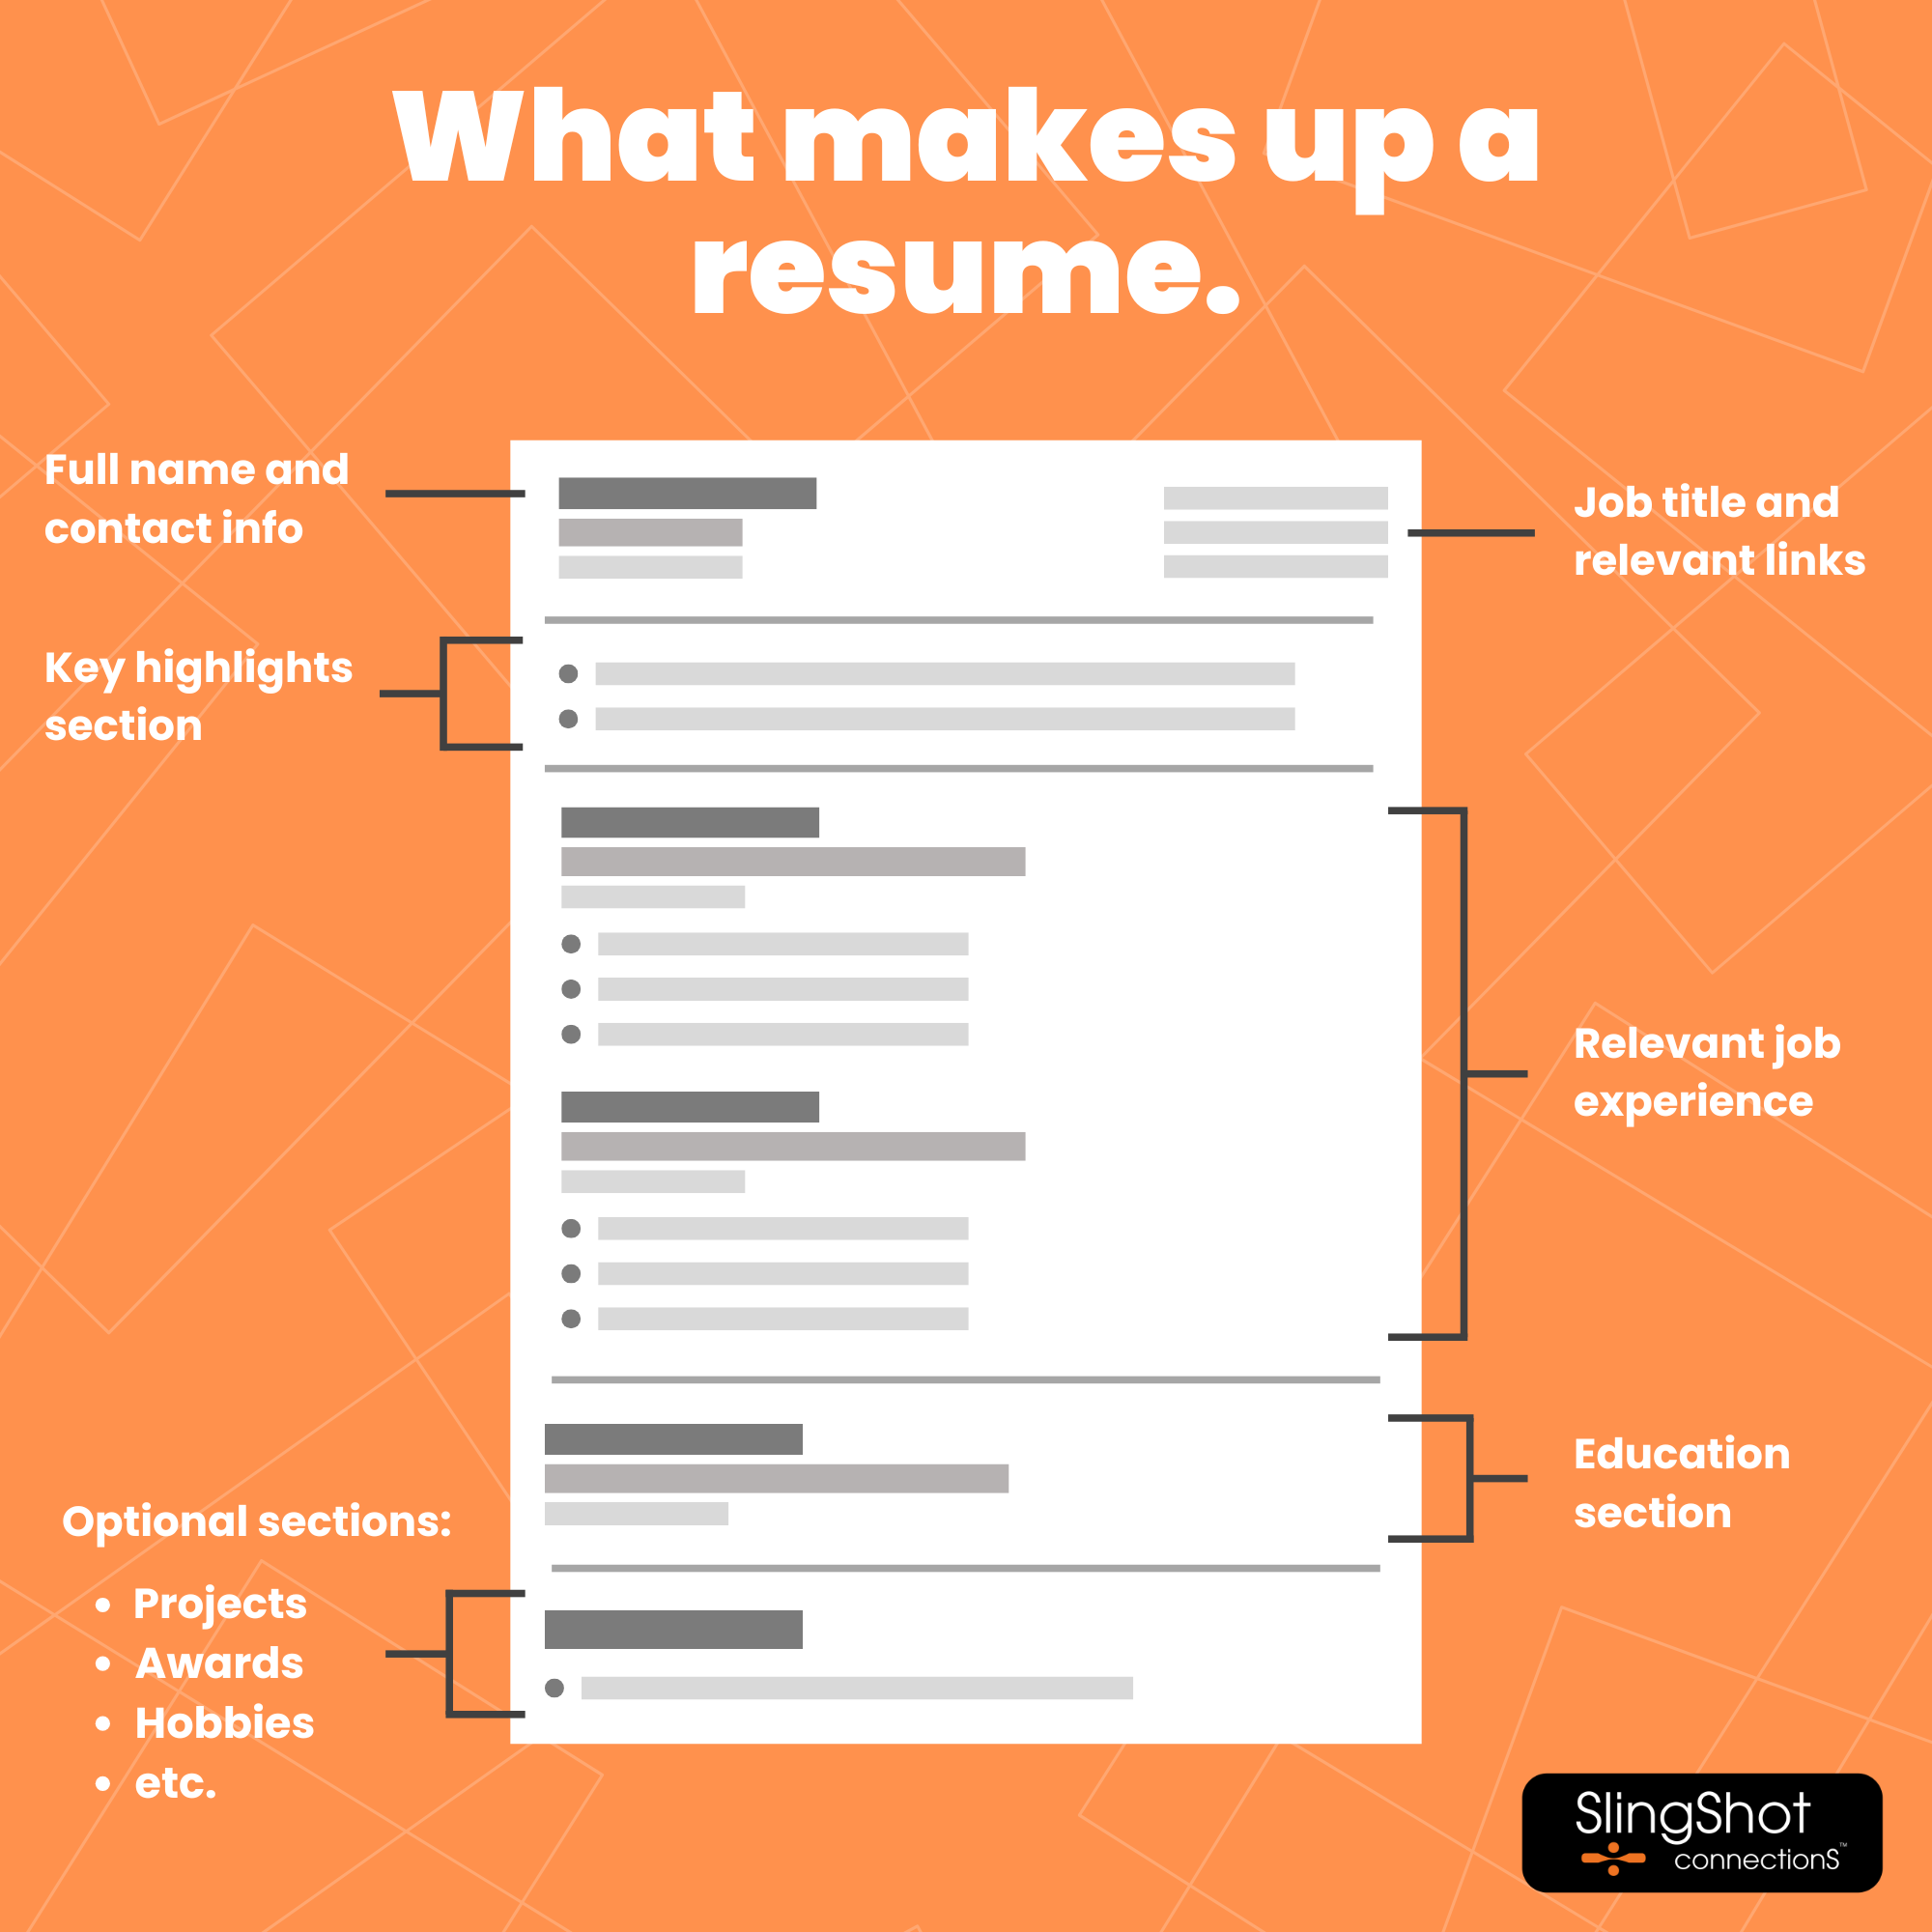
Parts of a resume
Here’s what makes up a resume. We’ll be breaking down each section as we go.
Header
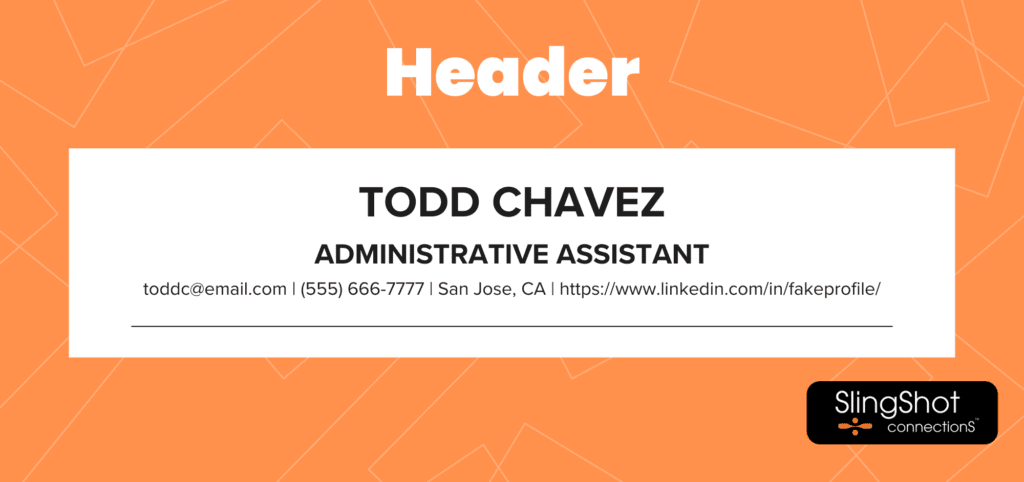
Let’s start at the top. The header is where all of your personal information lives.
Here’s what you need to have:
- Full name
- Email address (Keep it professional)
- Phone number
- Location (Only include your city and state — no need for your entire address).
These are optional but can help depending on the type of job you’re applying for:
- Job title – for those of you specializing in one career.
- Link to LinkedIn profile – Not required but we highly recommend adding one, especially if you’re more career focused (this means making sure your LinkedIn profile is updated).
- Other links – Usually for the creative roles that require some sort of portfolio (most people won’t need to worry about this).
Creating a summarized key highlights section
You never get a second chance with first impressions, and it couldn’t be more true with this section. It’s the first thing hiring mangers see.
Now, most resume guides will show you how to create a standard, 3 sentence summary statement.
But we’re not most resume guides. 😎
Don’t get me wrong, summary statements do their job. But when 100+ people are applying for the same job, you need something stronger.
Let’s use a key highlights section instead.
Key highlights
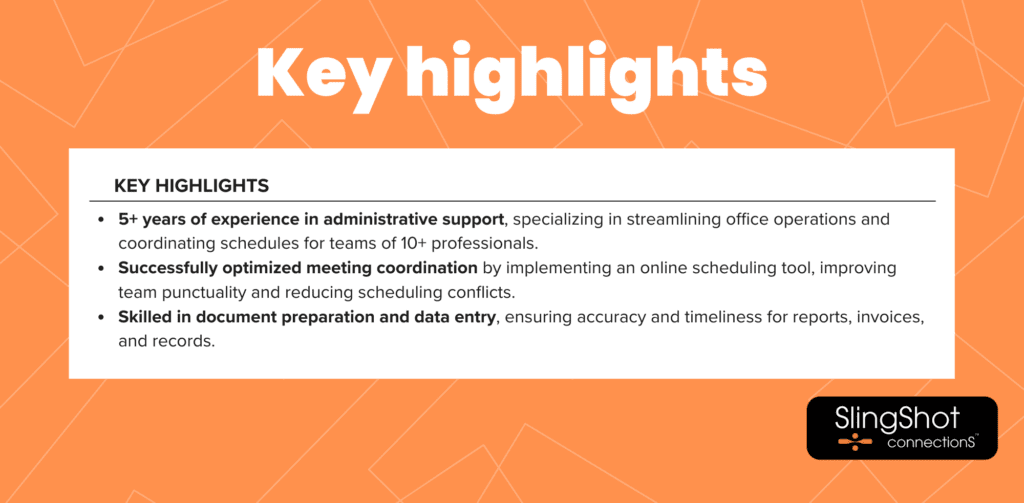
Key highlights are a modern take on the classic summary statement. Still a snapshot of your experience but written with bullet points to be more clear.
A strong key highlights section should tell the hiring manager exactly what to expect from your resume and convince them that it’s worth reading on.
We’ll break it down into two formats depending on your work experience:
- One for entry-level/general labor jobs.
- And one for career roles (great for people with 2+ years of career experience).
Entry-level / general labor jobs
1st bullet point: “[X] years of experience in [industry/field].”
Bullet points 2-4: Should be relevant skills or successes that you’ve had in your previous jobs (select up to 3 from below).
Career / professional roles
1st bullet point: “[X] years of experience in [industry/field], specializing in [specific skill or area related to the job].”
Bullet points 2-4: Should highlight achievements in your past job. Using number values will help more (select up to 3 from below).
Extra tip:
Bold out the key parts of your highlights like in the example above. This makes it easier to read and parse.
Relevant experience

This next section is the meat of your resume. If the hiring manager liked your key highlights, this is where they’ll go next.
A good experience section will break down your relevant work experience by role, with details about the job and bullet points of your accomplishments.
Job title format
Here’s what you’ll want to include for each role:
- Job Title
- Company name
- Dates employed (month, year)
A few things to note:
- Place your most recent jobs first.
- If you’re still at a job, write “present” in the dates employed.
- If you were in multiple roles for a company, treat it as a separate role. (You can see how in the example above).
- If you were employed through a staffing agency, write the company name they placed you in, not the staffing firm.
- If your role was temporary and you worked the full length, write it down in parentheses. This shows that your short term roles weren’t because you quit.
Bullet points
Want to know what most people get wrong when talking about their past work?
It’s thinking that employers care about what you did on your day to day.
Tough pill to swallow, I know. But employers are hiring you to solve a problem. You need to speak that language.
There’s actually a simple way to do that. It’s by making your experience section more outcome based.
Think about what you accomplished at your last job. What improved because of you?
Here’s an easy format to help:
- [Accomplished] by [specific details on how you did it]
On your resume, it’ll look like:
- Boosted team productivity by implementing new task management tools
See, it still tells the hiring manager what you did. But sneaks in your accomplishments while doing it. 🥷
Coming up with what to write is easy too. Just take some of your normal job duties and think about how it benefited your team or company.
For example, if you swept floors, you could say:
- Maintained a clean and safe workspace by sweeping high traffic areas
Or if you did checkout at a register, you could say:
- Improved customer satisfaction by providing quick, friendly service and efficiently handling transactions
Being a cashier or floor sweeper might not seem like much but there’s value to it, or else why would they hire for it. Focus on the benefits and shape your wording to fit that.
Use this ChatGPT prompt to help.
“I’m going to give you some of my past job duties. Help me figure out what they accomplished for my team or company so I can create a more outcome oriented resume.”
Extra ways to spice up your bullet points
Have extensive skills or career experience? Use these to add ‘oomph’ to your bullet points.
Add quantities or percentages to make your accomplishments seem more real.
“Decreased employee turnover by 25% after launching an employee engagement program“
Add keywords/skills for specific details (this also helps the robot recognize keywords 🤖)
“Improved inventory accuracy by using SAP Warehouse Management System to track stock levels and optimize order fulfillment.“
If the above format is starting to sound repetitive, spice it up with these adjustments:
Replace ‘by’ with other connecting words:
– Through
– With
– Using
– Via
– As a result of
Example: Boosted team productivity as a result of implementing new task management tools
Flip the format, put the action first followed by the accomplishment:
Swept high traffic areas, maintaining a clean and safe workspace
For students
If you’re in school, chances are you don’t have much work experience to add.
The good news is, there are other ways to fill up your resume.
To start, instead of a work experience section, you’ll want to do a skills section — covered in the next section below.
We also recommend adding projects and accomplishments in your Education section. More on that later.
Skills section (only use if you lack experience)
Note: This one’s for people with little to no experience. If you have enough experience to fill up your experience section, skip this.
The truth is, skills sections just generally aren’t that strong. Hiring managers don’t value it as much as real experiences or accomplishments.
But…
If you don’t have much work experience, having a skills section beats having nothing.
So we’ll teach you the best way to do it.
A few things to note with skills:
- Don’t just fill the page up with a massive list of skills, be thoughtful in the skills you choose.
- Like we mentioned before — don’t use ratings or meters. They take up valuable space and could confuse the robot. 🤖
- Tailor them to the job description. We still want to make this section as relevant as possible.
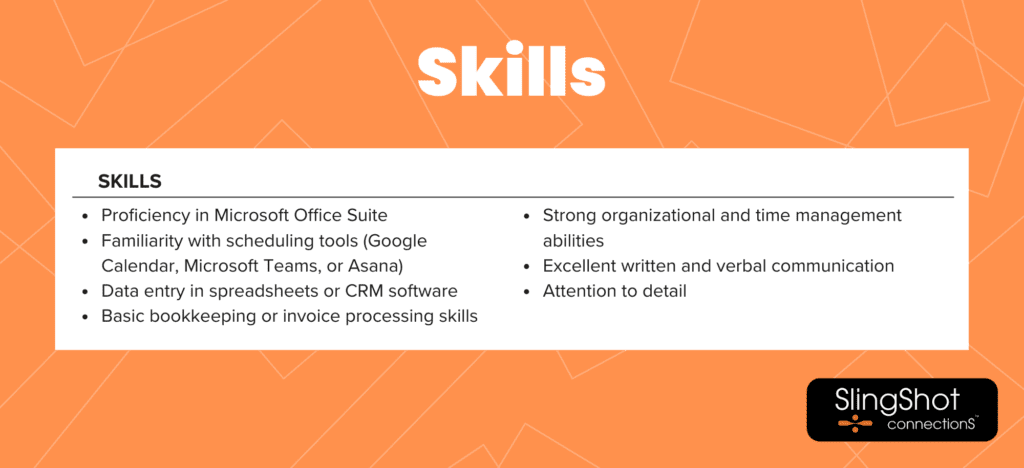
Hard skills vs soft skills
There are two types of skills you can include on your resume:
Hard skills: Specific skills gained through training, education, or experience. Things like Microsoft Office, project management, or machine operation.
Soft skills: Personal skills that show how you work with others. Things like communication, teamwork, or problem-solving.
Hard skills are the strongest to include. You can include both, but prioritize hard skills.
Tailor your skills
Your skills need to tell the hiring manager you can do the job, make sure they’re relevant to what they’d be looking for.
Go through the job description. It’ll give you a good idea of what they’re looking for.
Use this ChatGPT prompt to help:
“I’m applying to a job and need a list of hard and soft skills this job would be looking for.”
Education
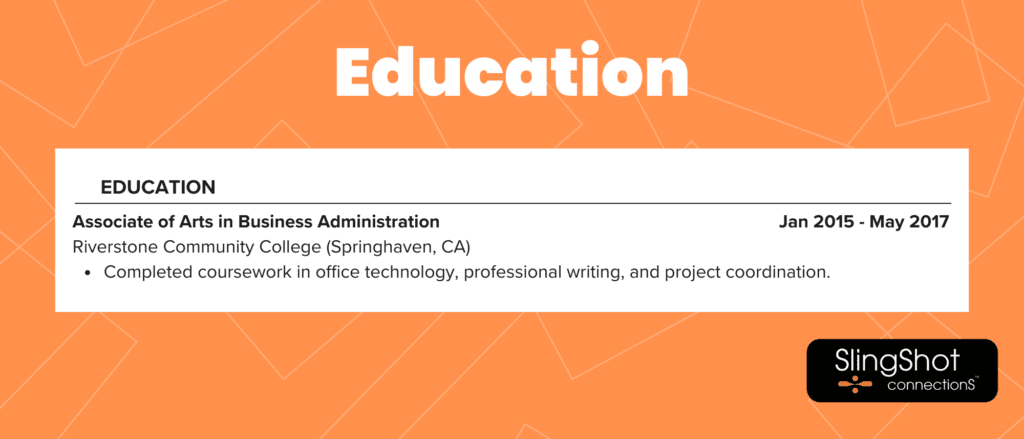
A pretty straightforward section. Below are the formatting rules you’ll want to follow.
Information you need to include:
- Degree (If it’s a college/university)
- School name
- Location
Optional information:
- Years attended
- Any relevant minors
- Honors and awards
- GPA – only if above 3.5 GPA
- Relevant coursework/Extracurricular activities — useful for people still in school or with little work experience.
Some general rules with the education section:
- List only your most recent education experience. If it’s a high school diploma, add that. If it’s a college degree, only include that.
- If you’re worried your attendance dates will give away your age, it’s better to leave it off. You want to avoid any unconscious age bias.
Placement
In most cases, you’ll want your education to be below your experiences. Employers tend to prefer experience over education.
If you’re still in school and don’t have much work experience, place your education section above your experiences/skills section. Then fill it with some of the optional information listed above.
Other optional sections
These sections generally aren’t required or expected but can help if you have empty space you want to fill up. We wouldn’t recommend replacing these with important work experience.
Optional sections:
- Projects
- Volunteering experience
- Awards
- Certifications
- Publications
- Hobbies and interests
Projects
Especially useful for students. You can opt to include it in your education section or create its own dedicated section labeled “projects”.
Volunteering experience
Useful for students or people with little work experience.
We don’t recommend replacing your work experience with this.
Awards
If you’ve got some impressive awards, share them here!
Certifications
Here you can include certifications you think are relevant to the job (Note: Can also be included in the key highlights section above).
Publications
Won’t apply to most people but if you have any work that’s been published you can mention it here.
Useful for academic or writing roles.
Hobbies and interests
Here you can add a few hobbies and interests to humanize your resume. If you already included one in your key highlights, there’s no need to add this section.
Prioritize hobbies that are at least somewhat relevant to the job, or tied to skills that would be used in the role.
Conclusion

And that about sums it up.
We’ve provided some examples below to make sure your resume is tip top. 👌
If the job application also requires a cover letter, then you’re in luck. We have a guide on that here.
If you have any further questions, send them over to our team — you can find the form below.
Happy job hunting!
Examples

Have any questions?
Send them over. This goes straight to our expert recruiters who are more than happy to help with any job searching questions you have. 💪